
Resources · Photo Prep
Preparing Your Home for Real Estate Photos
Listing photos are often a buyer's very first impression of your home. A little preparation before the shoot makes a real difference in how it shows.
Most buyers form their first impression of a home from photos, long before they ever request a showing. That makes the photo shoot one of the highest-leverage moments in the entire selling process — and one of the easiest to get right with a bit of planning.
The goal of preparation isn't to make your home look like it belongs to someone else. It's to remove distractions — clutter, personal items, stray cords, an obstructed driveway — so the photos show the space itself clearly and let buyers imagine their own life in it.
This checklist walks through interior, exterior and specialty shots room by room, plus the timing questions that trip sellers up most often: what to finish before the shoot, and why it's worth waiting a few extra days to get it right rather than photographing a home that's still mid-prep.
Getting ready to list?
Tell Lori your target timeline and she'll help you plan prep and the photo shoot around it.
Interior
Room-by-room checklist
Work through each space with fresh eyes, or ask a friend to walk through with you — it's easy to stop noticing your own clutter.
- Clear kitchen counters down to a few intentional items; put away small appliances, mail and dish racks.
- Remove personal photos, collections, and highly personal items from common areas.
- Put away pet bowls, beds, toys, litter boxes and visible pet gear.
- Tuck away cords, chargers and cables from countertops, desks and entertainment centers.
- Empty and remove visible trash cans and recycling bins from rooms before shooting.
- Make sure lightbulbs match in color temperature and all fixtures are working; replace any that are burnt out.
- Open blinds and curtains fully to maximize natural light in every room.
- Clean mirrors and glass surfaces thoroughly — they show up prominently in wide shots.
- Give bathrooms a spa-like reset: clear counters, fresh towels, closed toilet lids, no personal toiletries visible.
- Style the primary bed with simple, neutral, wrinkle-free bedding.
Exterior
Yard, curb appeal and specialty shots
Move vehicles
Tidy the yard
Clean walkways and entry
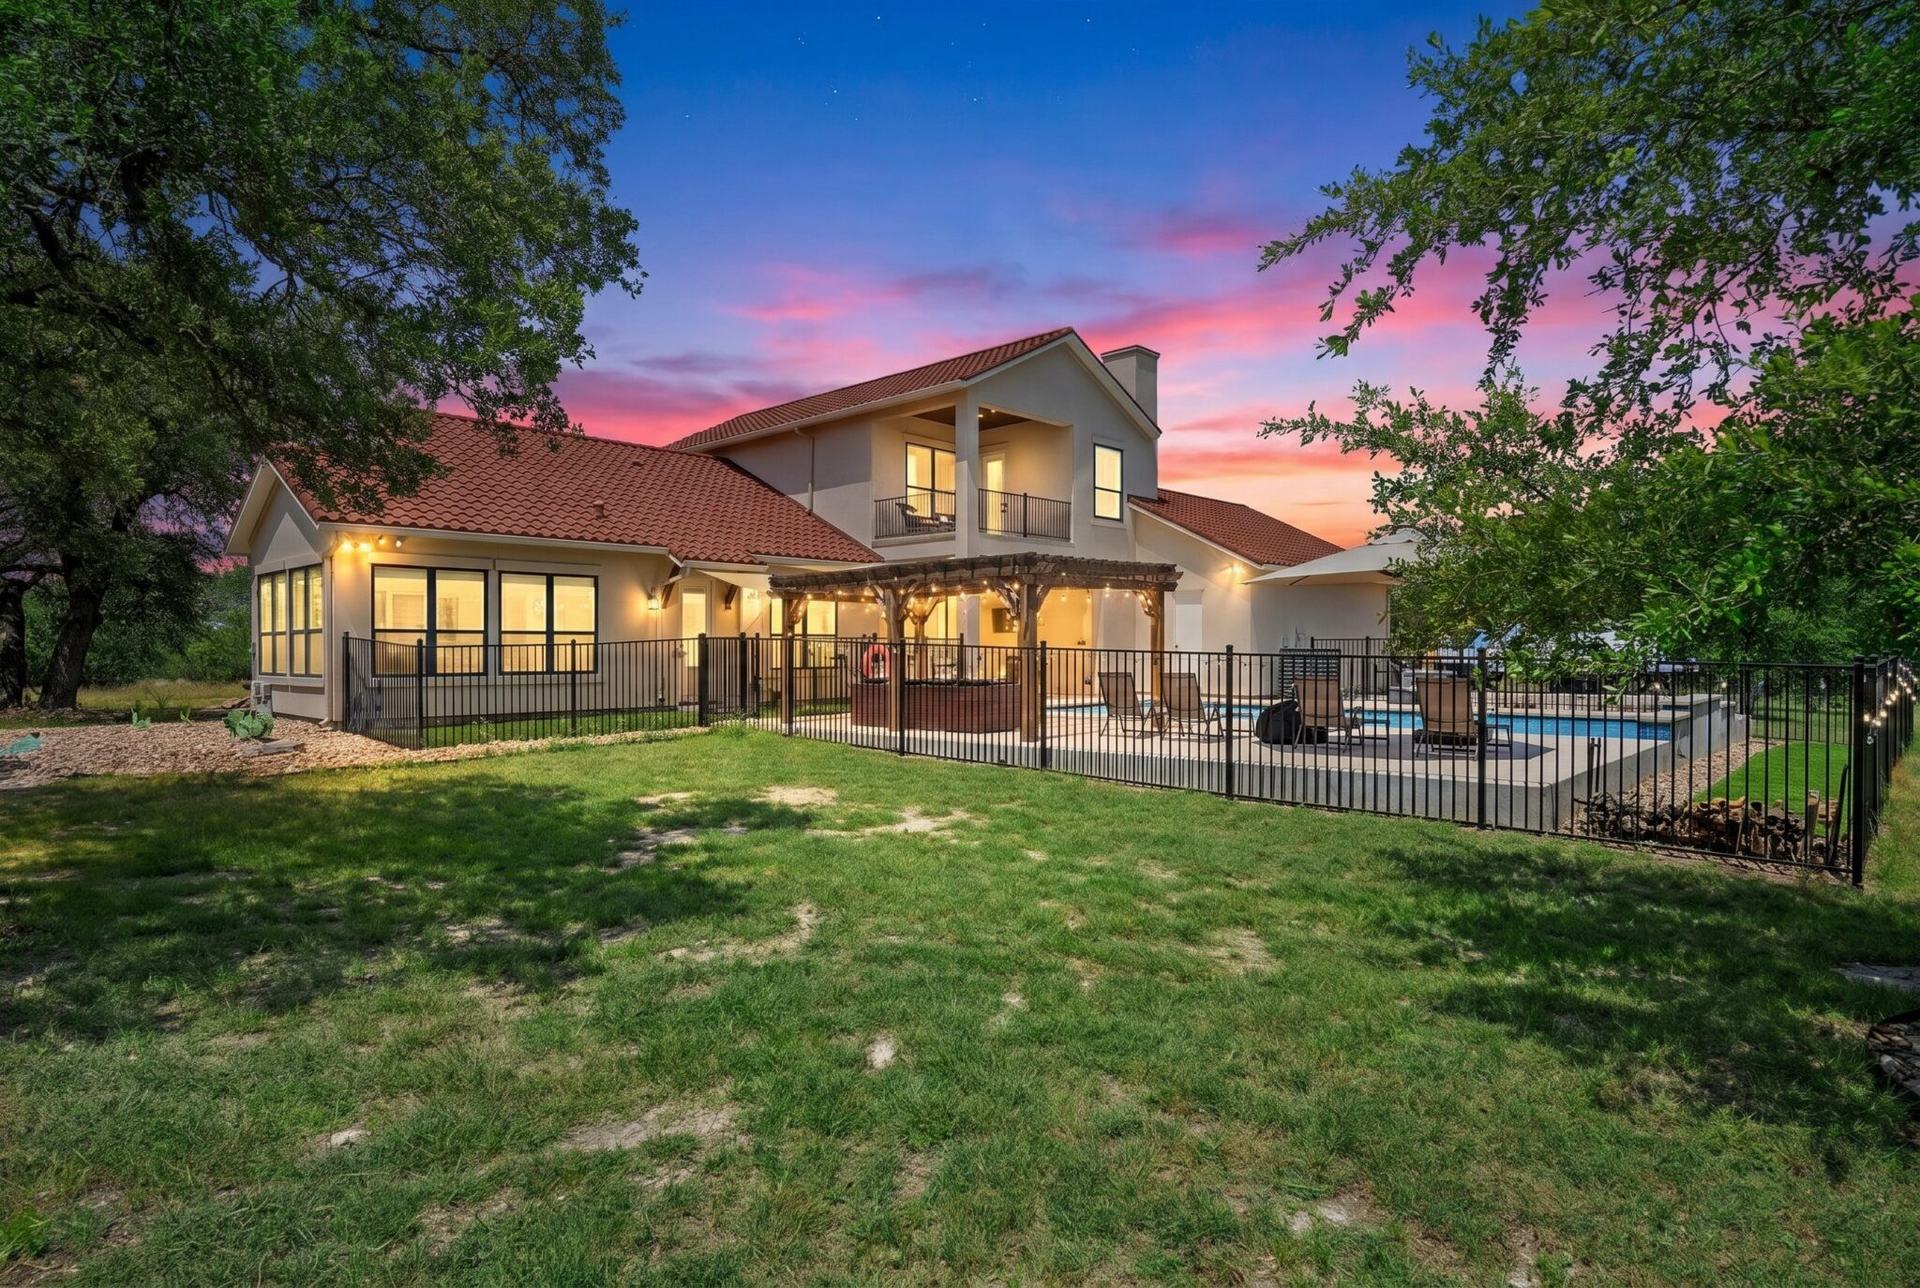
Twilight shots
Drone shots
Pool and patio areas
Timing
Scheduling the shoot for after prep is finished
Photos should be scheduled once cleaning and any planned repairs are actually complete — not around them. A photographer can't retouch a room that's still cluttered or a yard that hasn't been mowed, and rescheduling costs more time than it saves.
If you know repairs or a deep clean will take more than a day or two, plan the shoot date around that timeline from the start rather than rushing prep to meet an earlier date.
Logistics
What to move in advance and your day-of routine
- 1
Move out-of-season or excess items early
If you have items you plan to store or donate before selling, move them out well before the shoot rather than shuffling them at the last minute.
- 2
Do a full declutter pass the day before
Go room by room the day before the shoot with the checklist above, so nothing is rushed the morning of.
- 3
Handle pets and vehicles the morning of
Arrange for pets to be elsewhere and move vehicles off-site shortly before the photographer arrives.
- 4
Do a final light and blind check
Walk through right before the shoot to turn on all lights, open all blinds, and clear any last-minute items.
- 5
Leave the space during the shoot if possible
Photographers generally work more efficiently, and rooms show better, without a full household present.
Good questions
Photo prep: common questions
Keep exploring
Keep preparing your listing
Sellers
Sell your home with Lori
An overview of how Lori works with sellers from first conversation to closing.
See the seller overviewResources
Home selling checklist
A broader step-by-step checklist covering the full path to listing.
See the full checklistGet started
Request a home value conversation
Start with a candid conversation about your home and your timeline.
Get startedThis checklist is general guidance and may not fit every home or situation. Specific staging, repair and preparation needs vary by property — talk with Lori about what makes the most sense for your home before your shoot.
Ready to plan your listing photos?
Call or text Lori at (512) 545-9568, or reach out about selling, and she'll help you plan prep and the shoot around your timeline.